Tile Levelling

Getting it done better, faster, and cheaper than any method you use to lay tiles right now!
Correct tile setting requires the perfect levelling of the tiles. Very often it is hard to properly set flexible and low thickness tiles as well as large size and heavy tiles because of uneven floor surfaces. As a result, tiles which seemed perfectly levelled while installing them show differences in level that compromise the aesthetics once the adhesive has set.
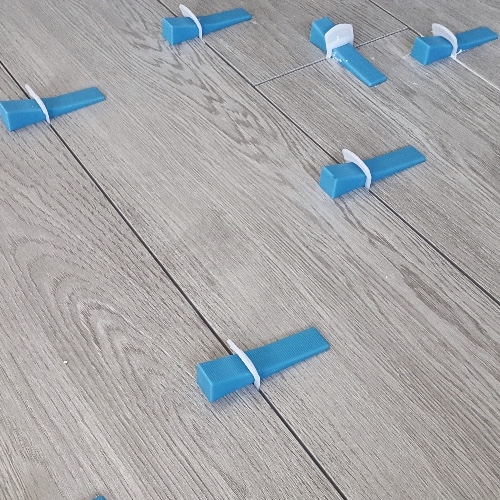
Issues such as this can be avoided thanks to SmartLevel levelling spacers which ensure perfect levelling of the tiles and more ...they speed up tile setting
- The levelling spacers make the setting easy, fast and ensure that the tiles are perfectly levelled.
- Minimum required joint: 1 mm. Tile thickness: minimum 3 mm, maximum 12 mm.
- Both the positioning and the removal of the levelling spacers are easy and quick.
HOW TO USE:
How to set the support:
- After having spread the adhesive, insert the support underneath the tiles and along the 4 sides.
- According to the tile size, set one or more supports on every side of the tile.
- Set the tile and beat it with a rubber mallet.
How to insert the wedge:
- Insert the wedge in the support slot paying attention not to pass the breakpoint.
- To facilitate this operation, the use of our special traction-adjustable-pliers is recommended.
How to remove the support:
- Once the adhesive is set, the protruding part of the support has to be removed by separating it from the base. This can be done using the traction-adjustable-pliers, a rubber mallet or even just by kicking them with your feet. Hit the support parallel to the joint and it simply breaks off
